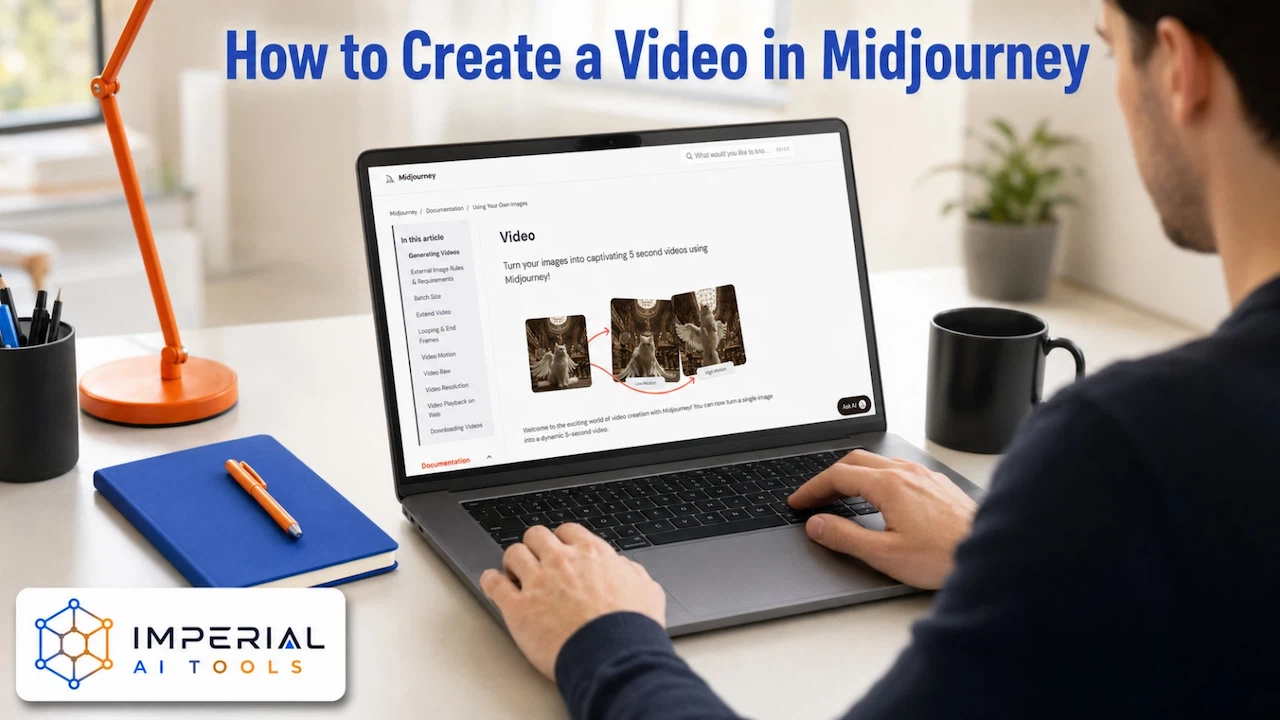

If you already make striking stills, the next question is obvious: how to create a video in Midjourney without wasting hours or GPU credits. Midjourney now animates a single frame into a short moving clip, either an image you generated inside the platform or one you uploaded yourself. That makes it an image to video tool, not a full timeline editor, and knowing that difference upfront saves a lot of frustration.
This guide walks through the complete workflow. You will learn how to prepare a strong starting frame, write a motion prompt that Midjourney actually follows, choose between Low Motion and High Motion, add an end frame or loop, extend a clip toward the 21 second ceiling, and export the right file for your platform. Along the way we cover current pricing, batch size tricks that protect your fast hours, and the fixes for the glitches most beginners hit first.
Quick Answer
To create a video in Midjourney, generate or upload a starting image, open the Animate controls, pick Low Motion or High Motion, write a short motion prompt, then generate. Every clip starts at 5 seconds. You can extend it four times, adding roughly 4 seconds each time, up to a 21 second maximum.
What Is Midjourney?
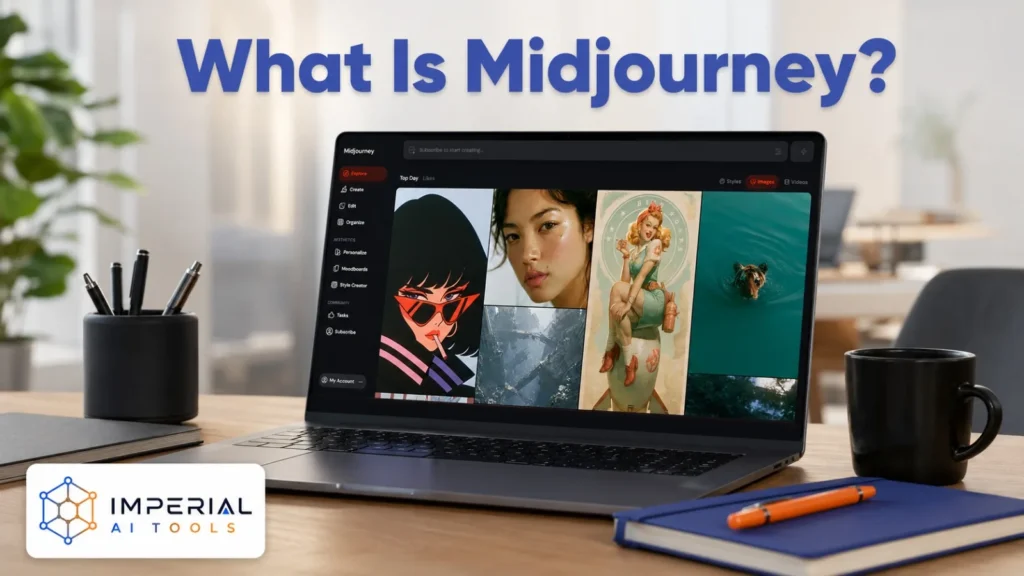
Midjourney is a generative AI platform that creates images from text prompts and image references. It runs on the Midjourney website and through Discord. Inside it, users generate, vary, upscale, edit, and organize images in a personal gallery.
The video feature sits on top of that image library. It takes one still frame and turns it into a short animated sequence. That starting frame can be an image you created in Midjourney, or an image you uploaded from your own device.
Typical users include content creators, filmmakers, marketers, concept artists, social media managers, and designers. Most of them already use Midjourney AI for stills and want short motion assets from the same look.
We like to say we’re trying to expand the imaginative powers of the human species.
How Does Midjourney Video Work?
The process is short. You select or upload a still image, and that image becomes the starting frame. Midjourney reads its subjects, depth, objects, and environment. Your motion prompt then describes what should move and how the camera should behave.
Midjourney generates one, two, or four video variations depending on your batch size. You pick the strongest clip, extend it, or download it.
Each initial video is 5 seconds long. Midjourney’s official video documentation confirms you can extend a clip four times, adding another 4 seconds per extension, until it reaches the 21 second maximum.
Main Midjourney Video Features
| Feature | What it does | Best use |
|---|---|---|
| Starting Frame | Uses an image as the first video frame | Image to video creation |
| Low Motion | Produces subtle movement | Portraits and product shots |
| High Motion | Adds larger subject or camera movement | Action and dramatic scenes |
| Manual Animate | Lets you edit the motion prompt | Controlled results |
| Auto Animate | Generates motion without prompt editing | Quick experiments |
| End Frame | Guides the clip toward another image | Planned transitions |
| Loop | Uses the starting frame as the ending frame | Repeating social clips |
| Extend | Adds about 4 seconds per extension | Longer sequences |
| Raw | Reduces Midjourney’s added creative styling | Better prompt control |
| Batch Size | Generates one, two, or four clips | Cost and variation control |
What You Need Before Starting
- An active Midjourney subscription
- A Midjourney or Discord account
- A clear starting image
- Rights to use any uploaded image
- A simple motion idea
- The correct aspect ratio for your final platform
- Enough Fast GPU time for testing
- An optional external editor for music, captions, and multiple scenes
Common mistake: uploading images you do not own. Midjourney’s external image rules make you responsible for everything you upload and create, including rights clearance.
How to Create a Midjourney Video Step by Step
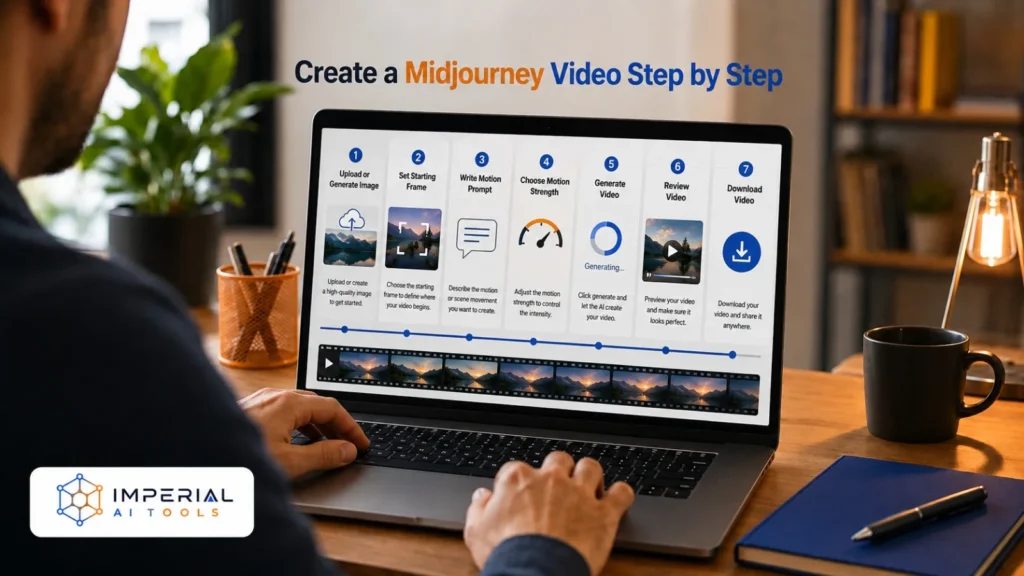
Follow these eight steps in order. They cover the full path from account setup to a downloaded file.
Step 1. Sign In and Choose a Plan
Visit Midjourney.com and sign in, or connect through Discord using the “Continue with Discord” option. Select a paid subscription, then open the Create page. Decide your output format before you generate the starting image, because the frame shape drives the video shape. Midjourney currently has no general free trial on its website or in Discord.
Step 2. Generate or Select Your Starting Image
You have two paths.
Generate a new image: type an image prompt in the Imagine bar. Include the subject, setting, lighting, camera angle, and aspect ratio. Generate, then pick the strongest result.
Upload an existing image: open the image panel, upload your file, and add it to the Starting Frame section.
Choose a clean, well composed frame. Avoid cropped limbs, blurred faces, and unclear subjects, because motion exaggerates every weak area.
Step 3. Open the Animate Controls
- On the website
- Open your chosen image, find Creation Actions, and select an Animate option. Three options matter here. Animate Automatically writes the motion prompt for you. Animate Manually lets you edit the prompt in the Imagine bar first. Loop returns the clip to its opening frame.
- In Discord
- Separate your selected image using the matching U button, then choose Animate (Low motion) or Animate (High motion). With Remix Mode enabled, you can edit the motion prompt before generation.
Step 4. Write a Focused Motion Prompt
Describe movement, not the whole visual scene again. A useful motion prompt names the subject action, the camera movement, environmental movement, the speed, the emotional tone, and anything that should stay stable.
Example: “The camera slowly pushes toward the woman as she turns toward the window. Her hair moves gently in the breeze while the background remains stable, cinematic natural motion.”
Vague instructions such as “make it move” give Midjourney far too much freedom, and the result rarely matches your idea.
Step 5. Choose Low Motion or High Motion
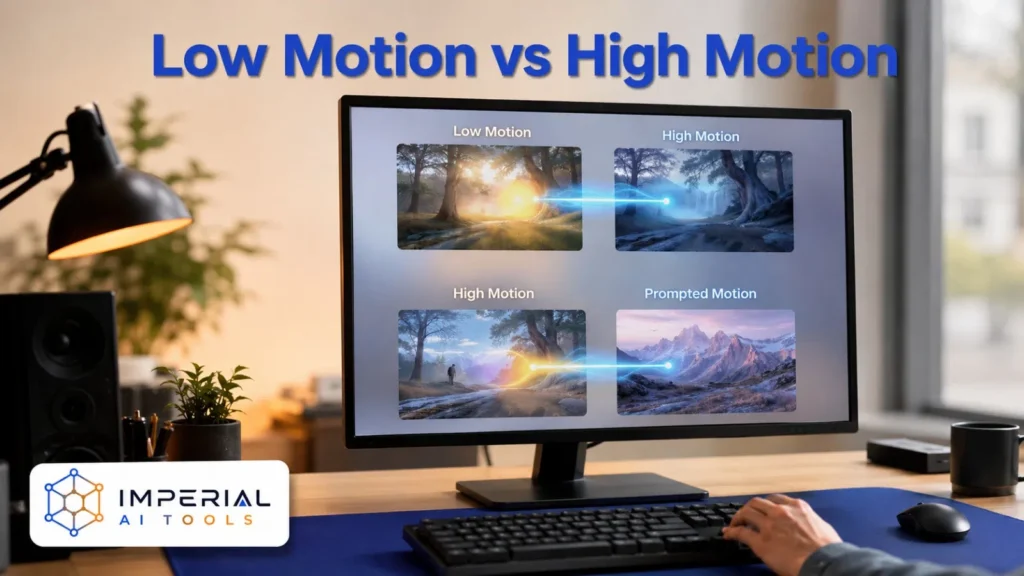
Low Motion suits portraits, product shots, slow zooms, atmospheric scenes, and subtle facial or fabric movement.
High Motion suits running subjects, rapid camera movement, action sequences, and dramatic transformations.
Midjourney’s documentation describes Low Motion as the calmer default that sometimes barely moves, and High Motion as more dynamic but more likely to create unrealistic or glitchy movement.
Step 6. Add an End Frame or Create a Loop
Use Loop when the animation should return to its opening frame. Upload a different End Frame when the clip needs a controlled visual destination. Keep both frames compositionally compatible, and avoid big changes in subject position, camera angle, or lighting.
The matching parameters are --loop and --end [image URL].
Step 7. Generate and Compare the Variations
Midjourney generates four videos by default. Compare them on subject consistency, hands and facial detail, background stability, camera movement, unwanted object changes, motion smoothness, and final frame quality.
Add --bs 1 or --bs 2 to cut the batch size and conserve GPU time while you are still testing ideas.
Step 8. Extend and Download the Video
Select the strongest clip. Extend Auto continues with the original prompt. Extend Manual lets you change the motion direction first. Each extension adds roughly 4 seconds, so a 5 second clip reaches 21 seconds at most.
Midjourney Video Prompt Guide
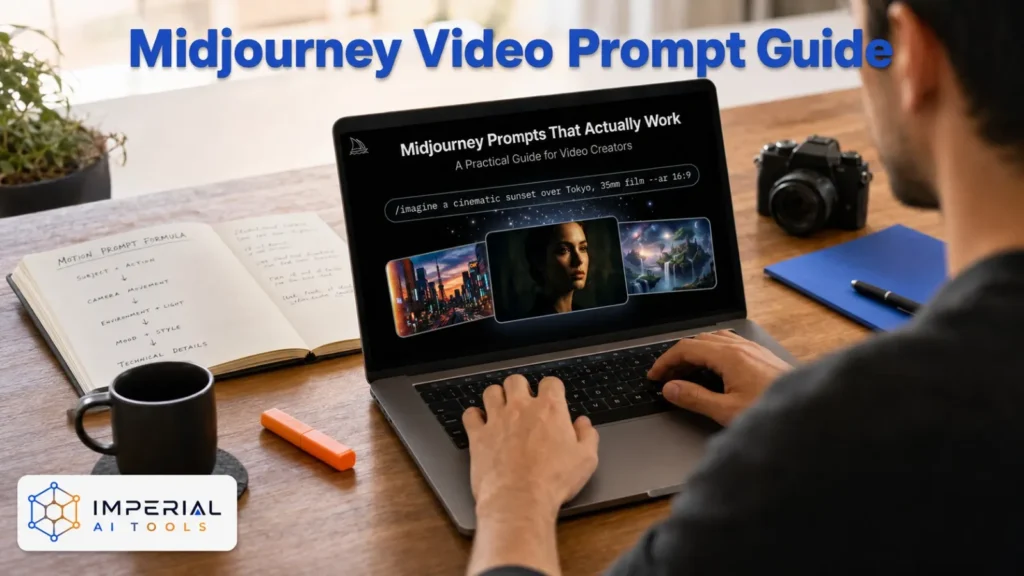
Use this formula: subject movement, plus camera movement, plus environmental movement, plus pace, plus mood, plus a stability instruction.
Cinematic Portrait
“The subject slowly raises her eyes toward the camera, subtle breathing and natural blinking, gentle push in, soft wind moving her hair, stable background, realistic motion.”
Product Promotion
“Slow orbit around the watch, controlled reflections moving across the metal, soft studio lighting, product remains centered and geometrically consistent.”
Travel Scene
“The camera glides forward above the coastal road as palm trees move gently in the wind, warm sunset light, smooth cinematic motion.”
Seamless Loop
“Steam rises slowly from the coffee while morning light shifts subtly across the table, locked camera, seamless repeating motion --loop.”
Pro tip: write positive instructions that describe the result you want. Video jobs only accept their own controls: --motion, --raw, --loop, --end, and --bs. Standard image parameters are stripped out.
Motion, Video Length and Resolution Explained
| Setting | Current behavior |
|---|---|
| Initial clip length | 5 seconds |
| Extension length | About 4 seconds |
| Maximum extensions | 4 |
| Maximum total length | 21 seconds |
| SD resolution | 480p |
| HD resolution | 720p |
| Low Motion | Subtle subject and camera movement |
| High Motion | Larger, more dynamic movement |
| Default batch | 4 videos |
| Available batch sizes | 1, 2, or 4 |
For a 16:9 starting image, Midjourney lists roughly 832 x 464 px in SD and 1280 x 720 px in HD. The starting image sets the video’s approximate aspect ratio, so choose the frame shape with your final platform in mind.
Midjourney Video Pricing
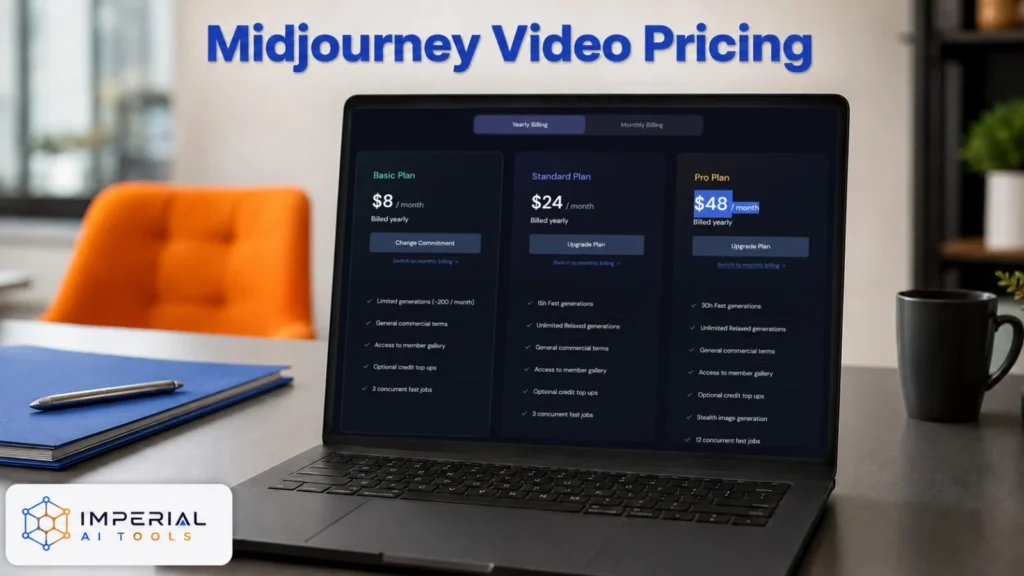
Every plan can generate videos in Fast Mode. HD video needs Standard, Pro, or Mega. Relax Mode video is limited to Pro and Mega, in SD only. Annual billing takes 20% off each tier, and extra GPU time currently costs about $4 per hour. There is no general Midjourney free trial on the website or in Discord.
Common mistake: uploading images you do not own. Midjourney’s external image rules make you responsible for everything you upload and create, including rights clearance.
Tips for Better Midjourney Videos
- Start with a clean, well proportioned image.
- Test Low Motion before you try High Motion.
- Describe one clear action per clip.
- Specify camera direction and speed.
- Keep backgrounds simple.
- Avoid requesting several simultaneous transformations.
- Add
--rawwhen Midjourney adds unwanted creative motion. - Generate one or two videos while testing to save GPU time.
- Reuse consistent starting frames across multi shot projects.
- Keep the same aspect ratio in every scene.
- Check the last frame before extending.
- Use manual extensions when the next movement should change.
- Build several short shots instead of forcing one complex scene.
- Finish sound, captions, and editing in external software.
Pro tip: the final frame of each clip becomes the effective starting point for the next extension. Judge that frame first. A distorted hand at second five will follow you all the way to second 21.
Common Problems and How to Fix Them
| Problem | Likely cause | Recommended fix |
|---|---|---|
| Subject changes appearance | Motion is too complex | Use Low Motion and simplify the prompt |
| Hands become distorted | Hands are unclear in the starting image | Generate a cleaner first frame |
| Background melts or shifts | Too many moving elements | Request a stable background |
| Camera moves too quickly | High Motion is too aggressive | Switch to Low Motion |
| Clip ignores the prompt | Instructions are vague | Name one action and one camera move |
| End frame transition looks unnatural | Frames are visually incompatible | Match angle, lighting, and subject position |
| GPU time disappears quickly | Default batch creates four clips | Use --bs 1 while testing |
| Extended clip changes direction | Extend Auto reused the original prompt | Use Extend Manual instead |
Is Midjourney Worth It for Video?
Worth it for: existing Midjourney image users, visual artists and concept designers, creators who want cinematic short clips, marketers producing atmospheric promotional content, and anyone comfortable finishing a project in another editor.
Less suitable for: long form video generation, dialogue heavy scenes, precise timeline editing, projects that need built in audio, and beginners who want a permanent free plan.
The verdict is straightforward. Midjourney is valuable for turning strong still images into short cinematic assets, but it is not a replacement for a complete video production platform.
Midjourney Alternatives for More Video Control
If 21 seconds and 720p are limiting, other tools go further. Kling suits longer realistic motion, while Higgsfield offers stronger camera controls and preset moves.
- Compare image and video options in our best Midjourney alternatives guide.
- Read our Kling AI review for realistic image to video generation.
- Compare cinematic workflows in Higgsfield AI vs InVideo AI.
- Browse more tutorials in our full guide library.
Imperial AI Tools Verdict
Learning how to create a video in Midjourney takes about twenty minutes, and the hard part is not the interface. It is restraint. The fastest path for a beginner is one clean 16:9 frame, Low Motion, a one sentence motion prompt, and --bs 1 so a failed test costs 2 minutes of GPU time instead of 8. Judge the last frame before every extension. Our honest caveat: 720p and a 21 second ceiling mean this is a shot generator, not a video editor. Plan to finish in DaVinci Resolve, CapCut, or Premiere. If you need longer realistic sequences, look at Kling instead.
Conclusion
Creating a Midjourney video always comes back to two things: a clean starting image and one clear motion idea. Get those right and the rest of the workflow is quick. Pick a frame with a well defined subject, describe a single action plus a single camera move, and test with Low Motion before reaching for High Motion. Keep your batch size at one or two while experimenting, because four HD clips burn far more fast GPU time than most new users expect.
Once a clip works, decide deliberately whether to loop it, guide it toward an end frame, or extend it to 21 seconds. Check the final frame before every extension, since flaws carry forward.
Remember what Midjourney is best at: short, visually rich shots rather than finished films. Generate several strong clips, then bring them into a dedicated editor for sound, captions, transitions, and pacing. That combination gives you polished results without fighting the tool’s limits.
Frequently Asked Questions
Low Motion produces subtle, more stable movement, so it suits portraits, products, and ambient scenes. High Motion drives both the subject and the camera for stronger action, but Midjourney notes it may also create unrealistic or glitchy movement. Test Low Motion first, then step up if the shot feels flat.
Subscribers generally receive commercial usage rights for what they create. Companies earning more than $1 million per year must subscribe to the Pro or Mega plan. Check Midjourney’s Terms of Service before commercial release, especially when you animate uploaded or client supplied images.
No. Midjourney generates visual clips only, with no audio track. Add music, voice over, sound effects, and captions afterwards in software such as CapCut, DaVinci Resolve, or Adobe Premiere Pro. Plan your audio separately when you script a project around Midjourney clips.
Is there a free way to try Midjourney video?
Not currently. Midjourney has no general free trial on its website or in Discord, so the cheapest entry is the Basic plan at $10 per month, or $8 per month billed annually. Basic includes 3.3 fast GPU hours and covers SD video in Fast Mode.