
Design software has a reputation for being complicated, and that reputation stops a lot of beginners before they even open the app. This guide clears that hurdle. It walks you through everything you need to get started with Canva: setting up your account, picking the right design size for what you’re making, and customizing templates so they don’t look like everyone else’s. From there, it covers Canva AI, building presentations and videos, and applying brand styles to keep your work consistent. By the end, you’ll also know how to export your finished designs properly, whatever format you need them in.
This isn’t an advanced design course, and it doesn’t try to be. It’s a practical, no-fluff introduction built for people who just want to open Canva and actually make something, without getting lost in menus or overwhelmed by options they don’t need yet.
Key Takeaways
- Canva combines templates, a drag-and-drop editor, and Canva AI tools in one browser-based platform.
- Choosing the correct design size before you start prevents rework later.
- Customizing a template, rather than publishing it unchanged, produces more original results.
- Canva Free covers most everyday projects; Pro and Business add premium assets, brand tools, and higher AI limits.
- Rulers, guides, and snap-to alignment keep layouts clean without manual eyeballing
What Is Canva and What Is It Used For?
Canva is a browser-based and app-supported visual communication platform. Instead of installing complex desktop software, you open Canva in a browser tab or app and start designing right away. The platform supports a wide range of project types, so one account covers most everyday visual work.
Common Canva uses include:
- Social media graphics
- Presentations
- Posters and flyers
- Videos and animations
- Documents and resumes
- Whiteboards
- Charts and infographics
- Websites
- Logos and brand assets
- Printed products
Who should use Canva?
Canva fits a broad range of users: beginners, students and educators, content creators, freelancers, small businesses, marketing teams, nonprofit organizations, and enterprise teams. Each group tends to lean on a different mix of templates, brand tools, and AI features, but the core editor works the same way for everyone.
What Canva is not
Canva is convenient for fast visual production, but it may not fully replace specialist software for complex photo manipulation, advanced video timelines, detailed illustration, or professional print prepress work. Teams with those specific needs often pair Canva with a dedicated tool for the harder tasks.
Canva Interface Explained for Beginners
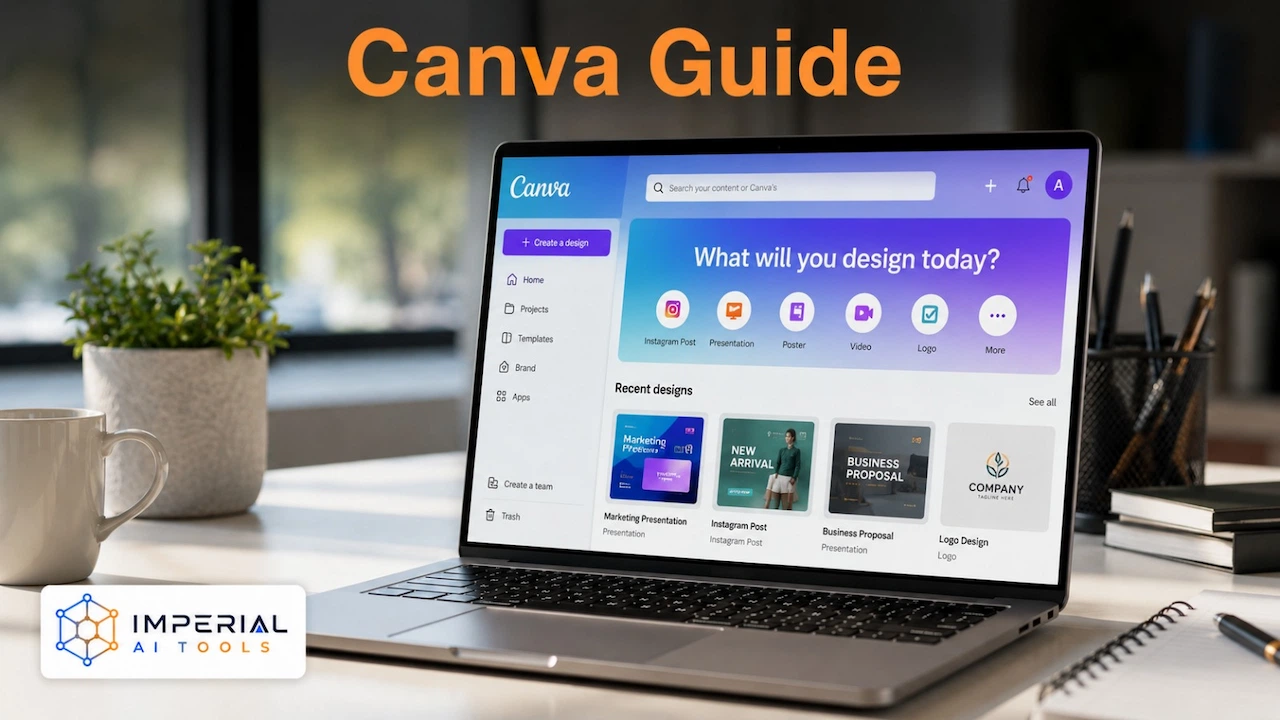
Before editing anything, it helps to know what each part of the Canva interface does. The layout stays consistent whether you are building a poster or a full presentation.
| Interface area | What it does |
|---|---|
| Home page | Starts new projects and displays recent designs |
| Templates | Provides editable layouts by format and purpose |
| Projects | Stores designs, folders, images, and shared files |
| Brand | Manages logos, colors, fonts, and brand templates |
| Canva AI | Generates and edits content using AI |
| Apps | Connects additional tools and integrations |
| Editor sidebar | Adds templates, text, media, elements, and uploads |
| Top toolbar | Changes formatting and element settings |
| Share button | Controls collaboration, publishing, and downloads |
Canva login, app and download options
Canva works in a standard browser, as a desktop application, and as an Android or iOS app. Signing in with the same account keeps your designs synchronized across every device, so a poster started on a phone can be finished on a laptop. Always download Canva from its official website or an official app store listing. Unofficial download links are a common source of malware and fake login pages.
How to Use Canva: Step-by-Step Beginner Tutorial
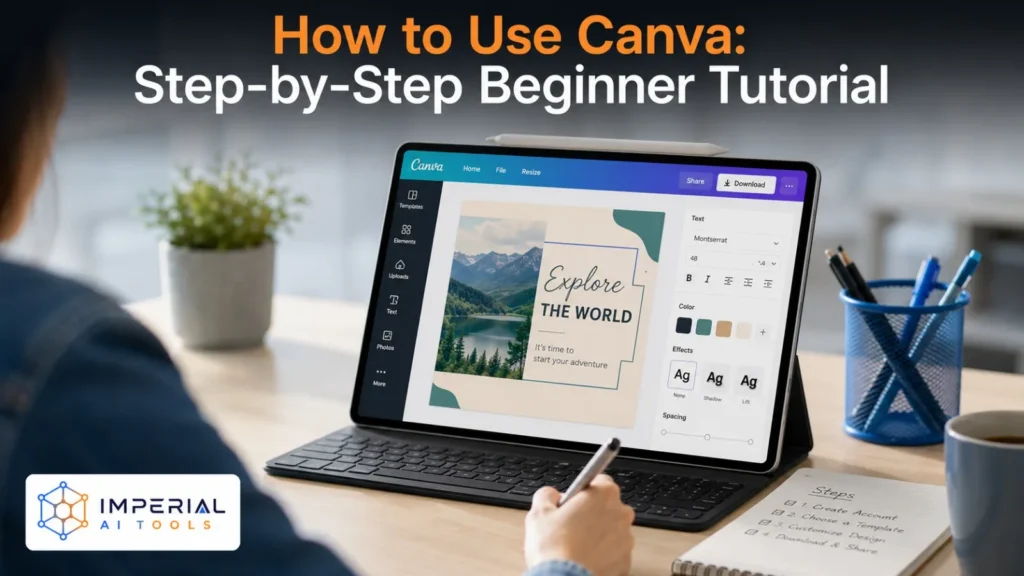
This is the core Canva tutorial. Follow these eight steps in order for your first project, then reuse the same workflow for every design after that.
Create or Sign In to Your Canva Account
Register with an email address, Google account, or single sign-on option. During setup, Canva asks for your intended use, such as personal, business, or education, which affects the templates it suggests first. Set your language, complete your profile, and invite team members later from account settings if you are working with others.
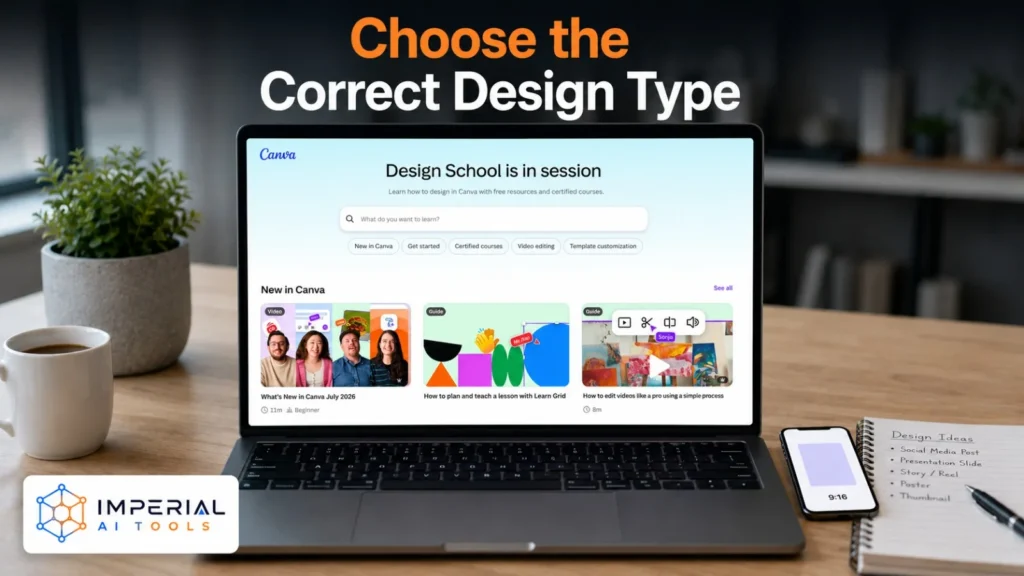
Choose the Correct Design Type
Search for a format by name, such as “Instagram post” or “presentation,” or set custom dimensions manually. Picking the right size first avoids awkward resizing later.
| Project | Common format |
|---|---|
| Instagram post | Square social graphic |
| YouTube thumbnail | 16:9 landscape |
| Presentation | Widescreen slides |
| Story or Reel | 9:16 vertical |
| Flyer | Print-ready portrait |
| Website banner | Custom landscape dimensions |
Platform requirements change over time, so confirm the current recommended dimensions on the destination platform rather than treating any size as permanent.
Start With a Template or Blank Design
A template saves time when you need a finished look quickly and are comfortable adapting existing layout choices. A blank page gives more control when your brand or concept needs something more original. Filter templates by style, color, or industry to narrow the options, and note which ones are labeled free versus premium. Whichever you choose, customize colors, fonts, and imagery rather than publishing a template unchanged, since widely used templates are easy for audiences to recognize.
Add and Edit Text
Add headings and body text from the sidebar, then adjust font, size, spacing, color, and alignment. Build a clear hierarchy: one dominant heading, a supporting subheading, and readable body text. Limit most designs to two or three fonts and check that text contrasts clearly against its background.
Add Photos, Videos and Graphic Elements
Search Canva’s content library for photos, videos, icons, and graphics, or upload your own files directly. Crop, rotate, resize, and position each element to fit the layout. Shapes, lines, icons, charts, and frames are available from the Elements panel. Check whether an asset is labeled free or premium before you rely on it, especially if you are on the free plan.
Arrange and Align Elements
Use position controls, layers, grouping, and locking to keep a busy design organized. Snap-to alignment lines help you match spacing between elements without guessing, and the Copy Style tool applies formatting from one element to another quickly. Adjust transparency when you need an element to sit behind text without hiding it completely.
Check and Preview the Design
Run through this checklist before you export anything:
- Is the text readable at a normal viewing size?
- Is the visual hierarchy clear?
- Are elements properly aligned?
- Does the design still work on mobile screens?
- Are any premium assets included that need a paid plan?
- Is the spelling correct throughout?
- Does the export size match its destination?
Download, Share or Publish
Export as PNG or JPG for images, PDF for documents and print, MP4 or GIF for motion content, or generate a shareable presentation link. Websites can be published directly from Canva, and social posts can be shared or scheduled from the same Share menu.
Canva Features Worth Learning First
Canva has dozens of tools, but a handful cover most beginner needs. This table highlights the features worth learning early.
| Feature | Primary benefit | Best suited for |
|---|---|---|
| Templates | Accelerates layout creation | Beginners |
| Brand Kit | Stores consistent brand assets | Businesses |
| Background Remover | Isolates subjects quickly | Product and profile images |
| Magic Resize | Adapts designs to other formats | Social media teams |
| PDF Editor | Imports and updates PDFs | Documents and forms |
| Video Editor | Creates short visual content | Creators and marketers |
| Presentations | Builds and presents slides | Students and professionals |
| Content Planner | Helps organize publishing | Social media workflows |
| Collaboration | Supports comments and shared editing | Teams |
| Canva AI | Generates and modifies content | Faster ideation |
Feature availability and usage limits can vary by subscription tier, account type, region, and ongoing product updates, so treat this table as a general starting point rather than a fixed specification.
How to Create Presentations, Videos, PDFs and Websites
Canva presentation guide
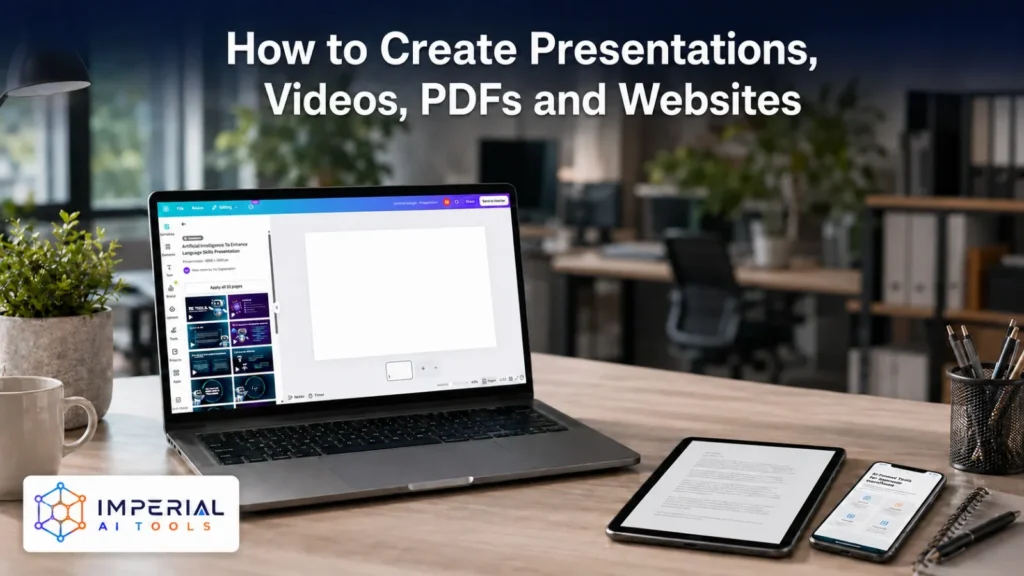
Start from a presentation template, then keep slide layouts consistent so the deck reads as one cohesive design. Canva’s presenter tools support live delivery, and you can add charts, animations, and transitions to individual slides. Finished decks can be shared as a link or exported as a file.
Using the Canva video editor
Import clips into the timeline, trim scenes, and add transitions between them. Synchronize audio tracks to your footage, then add captions for accessibility and silent viewing. Export finished projects as MP4 files. Canva’s official video resources confirm that its editor covers image generation, photo editing, copywriting, presentation design, and video creation as part of its wider Magic Studio AI suite, alongside standard clip arrangement and audio syncing.
Using the Canva PDF editor
Canva can import an existing PDF for editing, let you annotate or fill in fields, support signing, and export the updated file. This is useful for lightweight document edits without switching to separate PDF software.
Publishing a Canva website
Canva supports simple one-page website creation with a responsive preview so you can check how the site looks on different screen sizes. You can add links, connect a custom domain in supported plans, and publish directly, though Canva’s website tool is best suited to simple sites rather than complex, multi-section builds.
How to Use Canva Rulers and Guides
Rulers and guides help you align elements precisely instead of relying on your eye. Here is the short version.
Turn on rulers and guides
- Open your design in the Canva editor.
- Select File from the top menu.
- Open Settings or View settings.
- Enable rulers and guides.
- Drag a new guide from the horizontal or vertical ruler onto the canvas.
The exact menu path can shift slightly as Canva updates its interface, so use the current File or Settings menu as your reference point.
Add, move, lock and hide guides
Once visible, you can drag guides to new positions, and locking them prevents accidental changes while you keep editing. Knowing how to add guides in Canva, how to show rulers and guides, and how to lock guides in Canva covers most of what beginners need from Canva ruler guides day to day.
What do guides do in Canva?
Guides help align elements, establish consistent margins, create columns, and keep repeated layouts, like a slide deck or a multi-page document, consistent from one page to the next. They do not normally appear in the exported design.
Canva Pricing: Free, Pro, Business or Enterprise
Pricing checked July 22, 2026. Canva localizes prices by country and billing cycle, so always confirm the amount shown in your own account before upgrading.
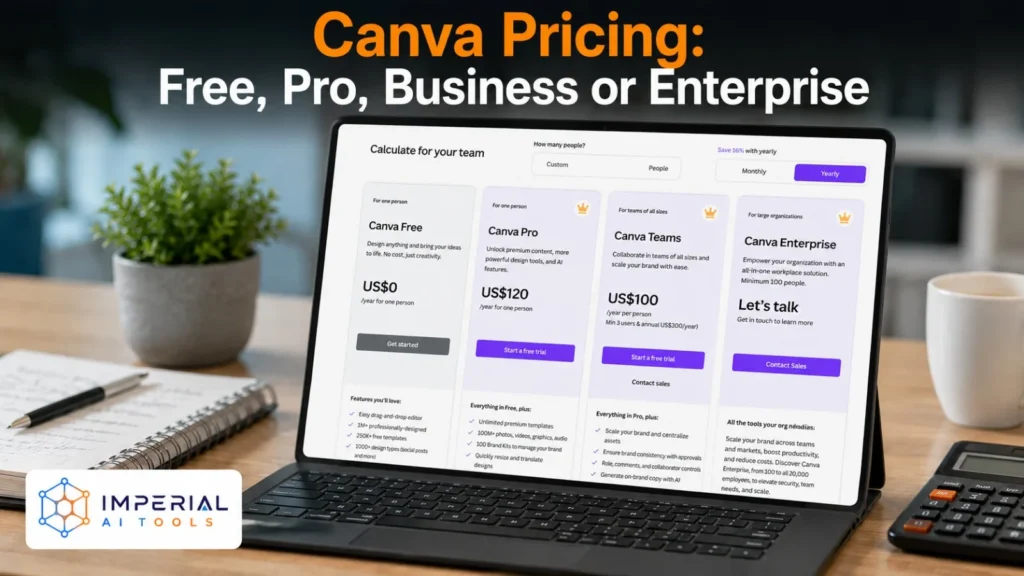
Reported list prices for Pro and Business have varied across sources through 2026, and Canva also runs periodic promotional discounts for new customers, so treat the figures above as a reference rather than a guaranteed rate. Canva’s own terms confirm that pricing varies by location.
Canva Best Practices and Common Mistakes
| Best practice | Mistake to avoid |
|---|---|
| Begin with a clear content goal | Selecting a template only because it looks attractive |
| Use two or three fonts | Mixing too many typography styles |
| Maintain strong contrast | Placing light text on a light image |
| Customize templates | Publishing a widely used template unchanged |
| Use rulers and spacing | Aligning everything by eye |
| Check mobile readability | Designing only on a large monitor |
| Compress web images appropriately | Uploading unnecessarily large files |
| Confirm asset licenses | Assuming every asset has unrestricted use |
| Maintain a brand system | Changing colors and fonts in every design |
| Preview before exporting | Downloading without checking dimensions |
Pro tip: Set up your Brand Kit before starting your first real project. Every template you customize afterward will already match your colors and fonts, which saves repeated manual adjustments.
Common mistake: Publishing a popular free template with no changes. Audiences who use Canva regularly often recognize widely used layouts, which can make brand content look generic rather than distinct.
Accessibility basics
- Use readable font sizes.
- Avoid color-only communication.
- Add alt text where Canva supports it.
- Check contrast between text and background.
- Use captions for video content.
- Keep animations controlled and not overly fast.
Imperial AI Tools Take
Canva is a strong starting point if you want to design without a steep learning curve. This Canva guide covered the fastest path for a beginner: pick a template close to your goal, customize the text and colors, align elements with rulers, then export in the right format. Canva Free is enough for most everyday projects, and it is worth using it fully before paying for Pro or Business. The honest caveat is that Canva’s AI credits and premium assets are capped even on paid plans, so heavy AI users should watch their monthly usage rather than assuming unlimited access.
When Should You Consider a Canva Alternative?
Canva is not always the right fit. Consider another platform when your work involves:
- Advanced photo manipulation
- Complex timeline-based video editing
- Professional vector illustration
- Detailed desktop publishing
- More generous free AI limits
- Offline-first creative work
- Specialized presentation creation
- Different licensing or collaboration requirements
Canva combines templates, AI tools, presentations, video editing, and brand management in one platform, but it may not suit every creative workflow. Compare the best Canva alternatives on Imperial AI Tools to find an option that matches your design needs, budget, and experience.
Conclusion
Canva makes visual content creation accessible without requiring extensive design experience. The most effective way to learn it is to begin with one practical project, customize a suitable template, apply a clear visual hierarchy, align each element carefully, and export it in the correct format. Once you understand these fundamentals, you can explore Canva AI, Brand Kits, video editing, presentations, PDF tools, websites, and collaborative workflows.
Canva Free provides enough functionality to learn the platform and complete many everyday projects. Canva Pro or Business may offer better value once premium assets, brand consistency, increased AI usage, background removal, resizing, or team controls become important. Before upgrading, compare the plan’s current regional price with how often you will actually use its premium capabilities. If Canva’s workflow or pricing does not meet your needs, review suitable Canva alternatives, or explore more AI design tools before choosing your primary design platform.
Frequently Asked Questions
Yes. Canva is built around ready-made templates and a drag-and-drop editor, so new users can produce a finished design without prior design training. Most people learn the basic Canva workflow within a single short session.
Yes, within Canva’s licensing rules. You can sell client work and finished designs, but you generally cannot resell an unaltered template or premium asset as a standalone product. Always check the current content license before commercial use.
Canva handles trimming, transitions, audio syncing, captions, stock footage, and AI-assisted editing well for short social and marketing videos. Editors with deeper multi-track timelines suit longer or more complex video projects better.